Today author from qihe smt pick and place machine sharing you with useful Guide to DIY PCB SMT assembly machine line In Your Lab or office through a client case.

I want to share a little secret with you in this article: Assembling SMT (surface mount technology) prototypes boards is not only easy, but it requires very little equipment. Tiny wafer-scale components can definitely be a challenge, but the majority of prototypes that are regularly produced can be semi-auto-assembled in a couple of hours with production quality and quantity results, including double-sided boards. If you’re currently hand assembling SMT boards with a soldering station, you need to stop this immediately and start using a semi-automatic SMT PCB Assembly or fully-automatic pcb smt assembly machine SMT line instead!
Applying the Paste
If you’ve ever done screen printing, you’re probably already an expert when it comes to applying solder paste – it’s exactly the same process. If you haven’t, never fear, it’s very easy!
Tools and Supplies
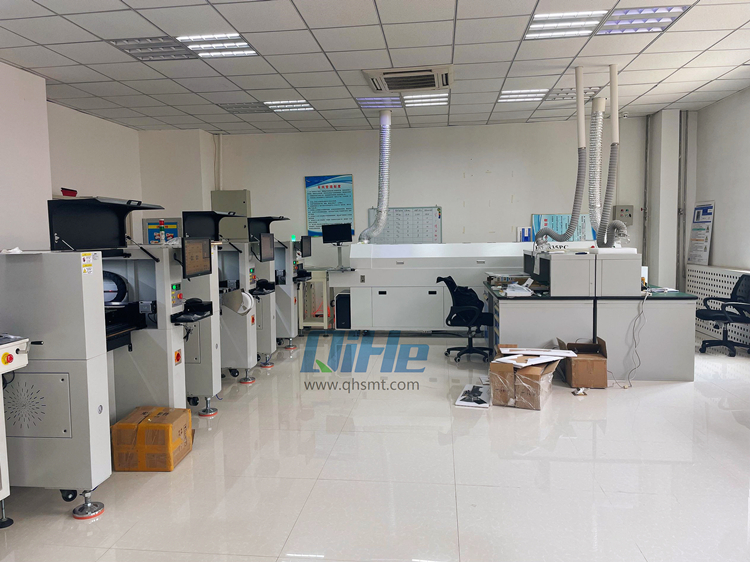
No matter how well (or poorly) equipped your electronics lab is, assembling your own boards requires very little equipment to achieve fantastic quality results. You probably already have the supplies you need, and if not, you can obtain them very cheaply. This process is equally suitable for students starting out and for professional engineers rapidly prototyping at multinational companies.
In addition to tools and supplies, you should have a very well-lit workspace. Working with small components can quickly lead to eye fatigue if you do not use high-quality lighting.
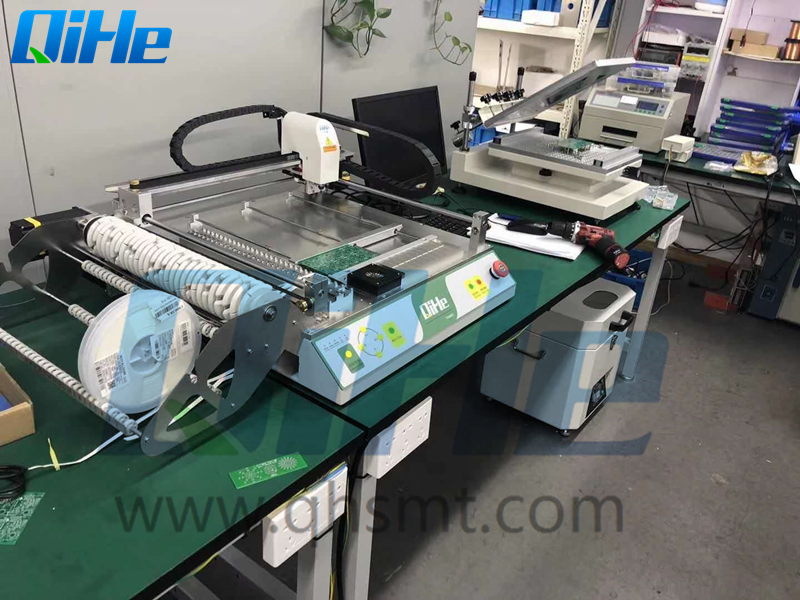
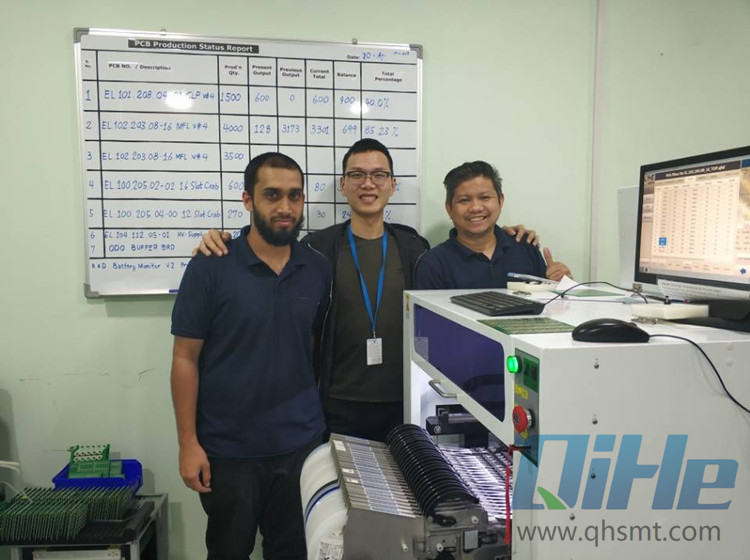
Your placement of components is important but not highly critical. Using the TVM926 pnp machine you can easily place down to 0.5 mm pitch ICs, and 0402 (imperial) sized passive components.If you want to put 0201 sized you can choose QM61 model. Generally, as long as the component’s leads are touching the solder paste, the alignment is good enough. This makes leadless components easier to fit than you might otherwise expect. As long as the component is pretty much correctly over the footprint, it will sort itself out once the solder melts. Once each component is in place, gently press it down into the paste to ensure you have good contact with the flux. This also makes it harder to accidentally bump components off their pads as you work around them. When you come to heat the board using hot air, having the components making good contact with the tacky flux will also reduce the likelihood of accidentally blowing them off your board if you get a little too close with the hot air!
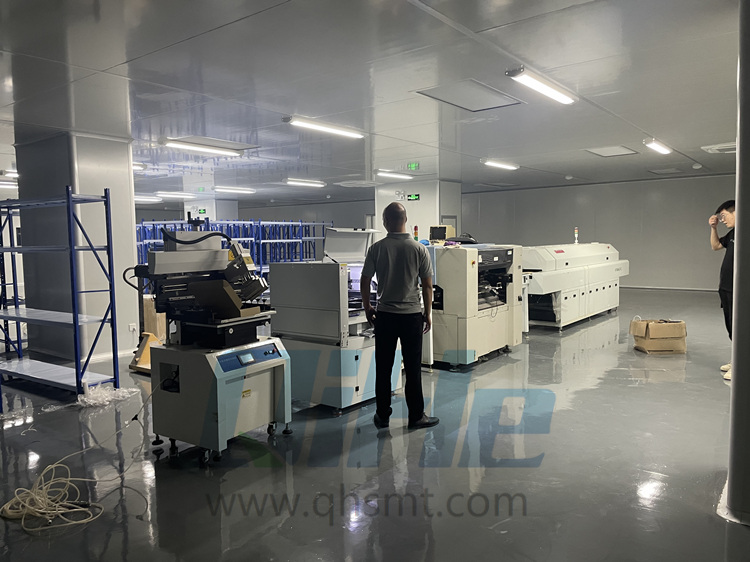
After the SMT components are placed on the board, you will need to heat the board to melt the solder. You do not need to use anything fancy for this job – a converted pizza/toaster oven or an electric skillet will work perfectly. Personally, I typically use a desktop reflow oven QR962C or if you have enough budget you can choose a 8 heating zone reflow oven QRF830 like in the photo, which means I need to move across the board, heating it up as I go to melt the solder. As a result, it takes a little longer to reflow each board; however, it’s an inexpensive tool that I already have. I also have a silicone cooking mat to protect my ESD mat and workbench from the heat. If your board has some very large ground pours, thick copper, or multiple ground layers, then a low-cost electric skillet works extremely well as a preheater plate. The hot air rework tool can then be used to take the solder up to its peak reflow temperature.

If a SMT component wasn’t lined up well enough and jumped to a weird angle during the reflow, you can just float it back to the point where it snaps into the correct alignment using your tweezers. While the solder is molten, you have a lot of freedom to move components around by poking them with your tweezers. The molten solder’s surface tension will make components sit directly over their footprint when you have them in the right alignment and generally ensure you don’t get any bridged pins. If you do get visibly bridged pins, you can fix this later with some flux and soldering iron, or you can lift the component off the board while the solder is molten then drop it back into place. Bridged pins are usually a sign that you had too much solder paste on the board.

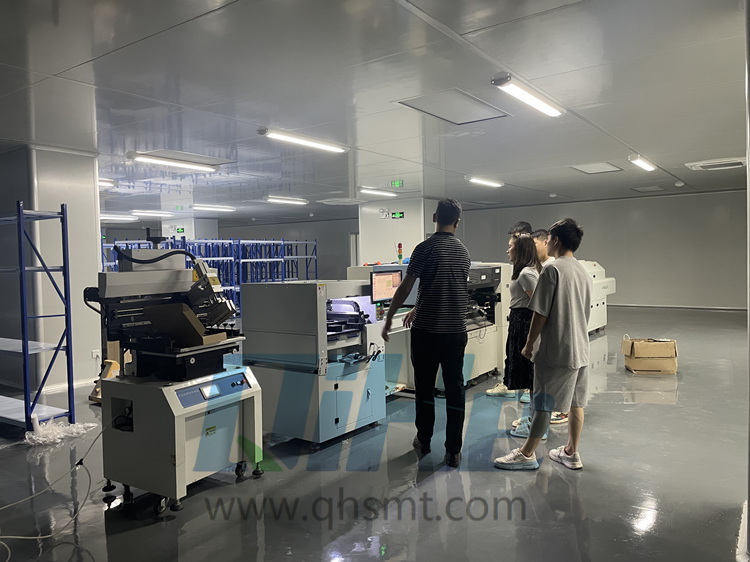
Have Fun when you start to DIY a SMT line in your lab or office!
Hopefully, this article has shown that reflowing a board with primitive low-cost SMT lab equipments is relatively trivial and gives you high-quality results. Many people who have not tried using a SMT line themselves express amazement that I can work with 0201 components or very fine pitch leadless components by hand. But the truth is anyone can do it. With a simple stencil and quality paste, you’ll be amazed at what you can achieve through SMT. Leave the soldering station switched off when you’re populating boards; there are more efficient ways to do this than soldering each component individually.