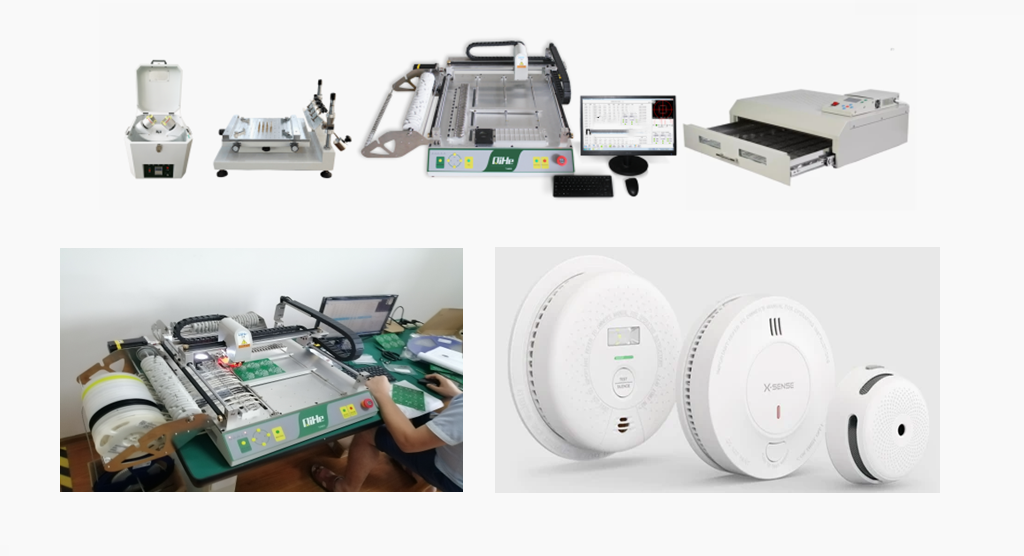
Last time we talked about the case from a client which is the producer of smoke detector from Singapore.
They purchased a set of TVM802BX smt pick and place machine dekstop smt line for smoke detector controller manufacturing .
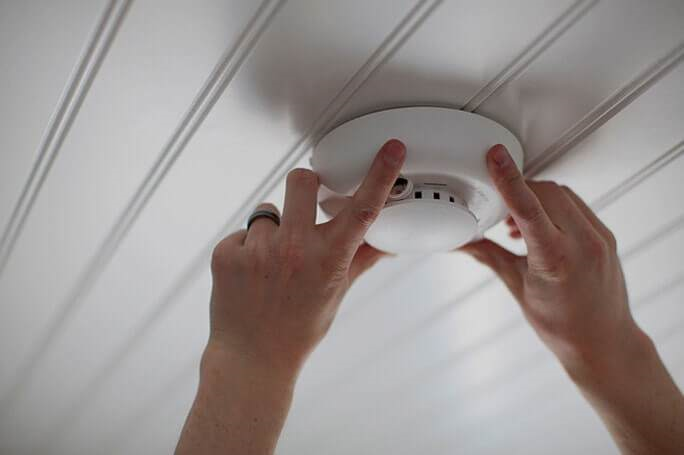
Now let’s sharing some tips about How To Install a Smoke Detector .
Choosing a Location
A smoke alarm placed on top of a house floor plan.
Check with local codes for the number of alarms required for your home and their placement. When learning how to install a smoke detector, it’s important that they be installed in the proper locations in your home.
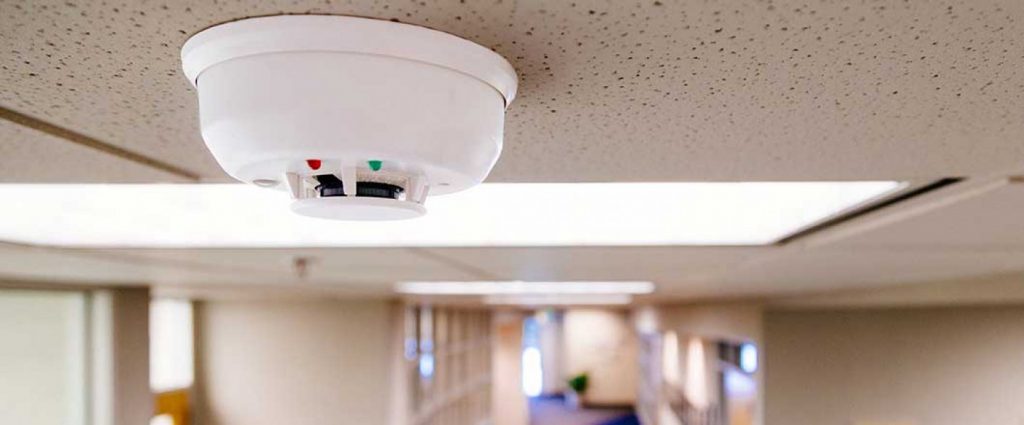
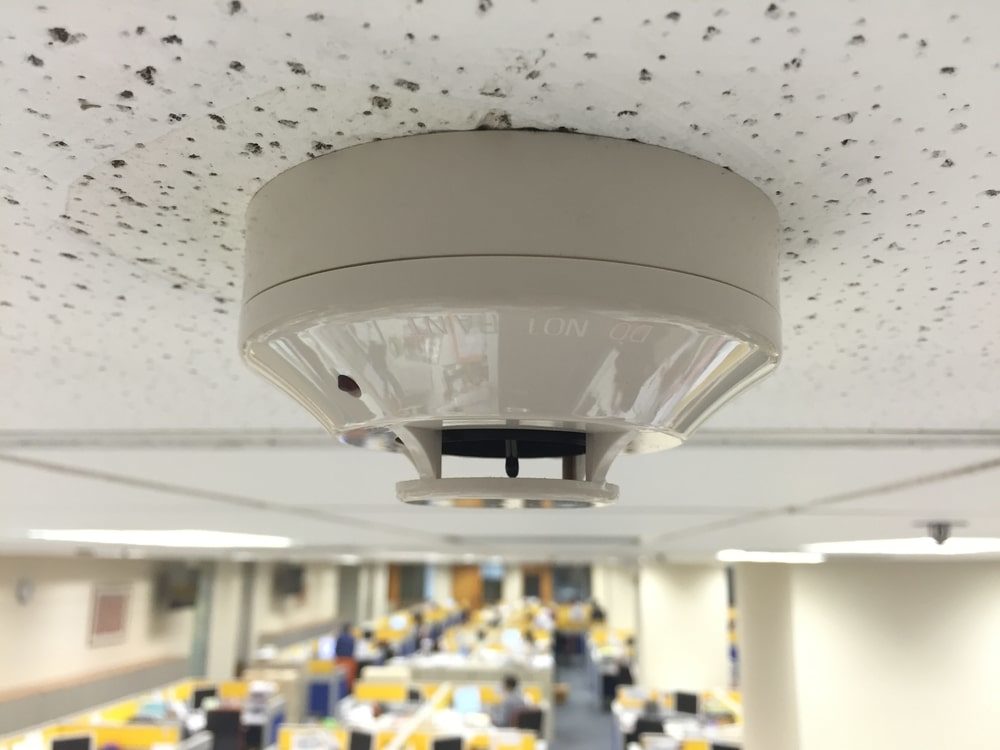
Smoke rises, so the ideal location for a detector is on the ceiling. Mounting it in the center of the ceiling is best. If it needs to be mounted elsewhere on the ceiling, it must be at least 4 inches from a wall.
Avoid corners where the walls meet the ceiling, and where pockets of dead air sometimes form, preventing rising smoke from reaching the detector.
Wall-mounted detectors must be installed at least 4 inches from the ceiling to avoid this dead air zone.
If you have vaulted ceilings, dead air can also form at the apex. Install the alarm at least 4 inches from the peak.
Don’t place smoke detectors over stoves, ovens, clothes dryers or in areas where there is the potential for significant heat or steam generation.
Safety Tip: An improper connection is a shock hazard. It may cause damage to the alarm or operation failure.
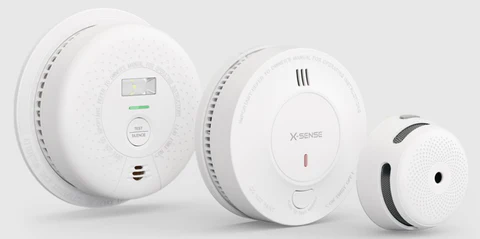
Types of Smoke Detectors
Several types of smoke alarms displayed on a kitchen counter.
Smoke alarms will sound when they detect smoke. You can get smoke alarms that are specifically designed for different areas of your home.
Bedroom alarms typically feature a 10-year lithium ion battery, so you’ll never be awakened by a low-battery chirping sound in the middle of the night. Some units also feature a voice alarm to help raise you from your sleep.
Kitchen-specific alarms can detect both smoke and carbon monoxide. They are designed to detect real fires faster and trigger fewer nuisance alarms.
A smoke detector can be hard-wired or battery-powered.
Hardwired smoke detectors are powered directly to an AC electrical circuit, which is standard in new construction. Many also include a battery backup system to keep it functioning during power outages. One benefit of most smoke detectors is that they include a hush feature, which temporarily silences the smoke detector’s alarm.
Battery smoke detectors are standalone and don’t require electrical wiring. They can use a nine volt or AA battery, which should be changed twice per year. Models with lithium batteries can last up to 10 years.
Plug-in CO alarms plug directly into an electrical wall outlet. The plug-in design isn’t practical for smoke alarms, but works for CO alarms.
Most smoke alarms come with a mounting base that separates from the alarm itself. This base will have key-shaped screw holes to allow you to fasten the base to a wall or ceiling.
How to Install Hardwired Smoke Alarms
Connecting wires to the smoke detector.
A hard-wired smoke alarm or carbon monoxide alarm is connected to other detectors throughout your home. These alarms sound simultaneously, on all levels of your home, when a single unit detects smoke or gas. All the units are wired to a 120-volt household electrical circuit and each have a battery backup. The battery backup provides extra protection by powering the alarm even if a fire causes the household power to go out. It’s important to learn how to install a hard-wired smoke detector yourself.
Safety Tip: Always turn off the power at the breaker panel before doing any electrical work. Use a circuit tester to ensure power is off.
Install Remodeling Boxes
Person cutting a hole in the ceiling.
To prepare the wiring for an alarm in a new location, you need to install a remodeling box. A remodeling box is an electrical box that can be installed into drywall. This is one of the first steps to learn how to wire a smoke detector.
Identify where the smoke alarm will be installed. This can either be on the ceiling or on the wall 12 inches down from the ceiling.
Use a stud finder to determine the location of wall studs around each alarm location.
Use a marking tool to trace the outline of the wall remodeling box or ceiling remodeling box. Use a level to make sure the box outline is straight.
Drill a 1/2-inch starter hole at the corner of your outline.
Starting at the hole, cut along the outline of the shape with a drywall saw.
Test-fit the remodeling box. It should fit into the hole snuggly. It should not fit so tightly that you have to force it. Do not set the remodel box yet.
Repeat this process at each location where a smoke alarm will be installed.
Run Cable to Boxes
Smoke detector wiring hanging from the ceiling.
Run 14-2 NM cable (a sheathed cable with 2 wires and a ground wire) from the house breaker panel to the smoke alarm closest to the breaker panel. Do not connect the cable to the breaker panel yet. You’ll do this at the end of the project.
When the cable reaches the alarm location, pull about 10 inches of the cable through the knockout of the first remodeling box.
Run cable from the first knockout to the second knockout, leaving 10 inches of cable hanging out of the work box. Repeat this step until all remodeling box knockouts are connected by cable.
Secure Boxes
Person securing the smoke alarm with a power tool.
Use wire strippers to strip the sheathing off the NM cable to expose the inner wires.
Insert the wires through the back of the remodeling box.
Insert the box into the hole in the drywall.
Screw down the clamping tabs carefully until the box is tight against the wall.
Attach the copper wires (ground wires) to the box with a ground screw or with the box’s internal clamp, depending on the model.
Connect Wires
Person using tools to wire a smoke alarm.
Use wire strippers to strip 3/4-inch of insulation from the ends of the wires.
Connect the wires to a 120-volt wire harness. Usually the hard-wire smoke alarm comes with a quick connect wire harness.
When connecting the wire harness, use wire nuts to connect the stripped NM cable wires to the same color harness wires. White wires connect to the harness’s white wire and red wires connect to the harness’s red wires.
Only connect wires of like colors.
When connecting smoke alarms to each other, the wire harness should connect to both the wires that run from the breaker panel (power source) and the wires that run between both alarms.
Wrap the wire connectors with electrical tape for extra protection.
Gently tuck the excess wire length and wire connectors into the remodeling box. Leave the plug-end of the wire harness out.
Install Backup Battery
Person inserting the smoke alarm battery.
Feed the wire harness through the smoke alarm mounting plate.
Place the alarm’s mounting plate on the remodel box and align the screw holes. Make sure the wire connection runs through the mounting plate.
Use the included screws to connect the mounting plate to the remodeling box.
Plug the wire harness into the back of the smoke alarm.
Open the battery compartment on the alarm.
Insert the correct type of battery (usually a 9-volt battery), being careful to position it so positive contact meets positive contact and negative contact meets negative.
Close the battery compartment.
Attach Smoke Detector to Mounting Plate
Person connecting smoke detector parts.
Line up the notches on the back of the alarm with those on the base.
Twist the alarm until it locks into place.
Check the connection to ensure it is secure on all sides. Once secured, you’ve successfully learned how to replace a smoke detector.
Connect the other end of the NM cable to the beaker panel. Or hire an experienced electrician to complete this final step for you.
Test Smoke Detector
Person adjusting the smoke alarm.
Once all the wiring is connected at the breaker panel and no one is doing anymore electrical work, turn on the power to the circuit.
Confirm each alarm’s power light is on.
Press the test button on each alarm. You should be able to hear all the alarms each test.
If the alarms don’t sound, turn off the power at the breaker panel and double-check your wiring connections. If the connections are correct but a unit’s power light won’t come on, replace the unit.
Installing a Battery-Operated Smoke Detector
Installing a battery-operated smoke detector.
Here’s general instructions on how to install a battery-operated smoke detector. Make sure to follow manufactuer instructions for specific units.
Select a drill bit slightly smaller than the size of the supplied wall anchors to ensure a snug fit.
Use the mounting base to mark the screw holes on the ceiling or wall and drill holes where marked.
Tap the plastic screw anchors provided into the drilled holes with a hammer.
Drive the supplied screws partially into the ceiling or wall and line up the mounting base with these screws.
Place and twist the smoke detector into position under the screws, tighten with a screwdriver and mount the smoke alarm onto the base.
Smoke Detector Maintenance
Couple testing a smoke alarm.
Test your smoke alarms at least once a month. On most units, this only requires the push of a button to test that the alarm sounds and the batteries are still working.
Change the batteries twice a year, even if you’re not hearing warning beeps. If you have a lithium ion battery model, change the batteries every 10 years or so.
Clean each alarm with a vacuum once a year. This will remove any dust or particles that may have accumulated in the unit.
Check the manufacture date on each unit periodically. Replace units once they reach their expiration date.
Hard-wired or battery-operated smoke detectors are an essential part of fire prevention safety in your home. There are several types of smoke alarms to choose from. Knowing how to install a hard-wired smoke detector requires basic electrical knowledge. If you have questions or are uncertain about any part of installing hard-wired smoke alarms, contact a certified electrician. Make sure to check smoke detectors and carbon monoxide alarms regularly for best performance.
-
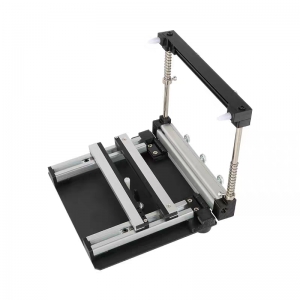
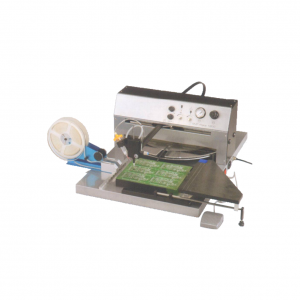
 Benchtop Manual Smt Frameless PCB Solder Paste Stencil Printer Printing Machine
 -
SMT Manual Frameless Pcb Solder Paste Stencil Printer
-
SMT frameless steel stencil screen printing table
-
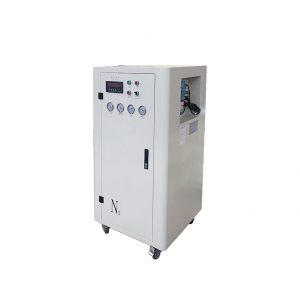
Nitrogen generator, used for selective welding
-
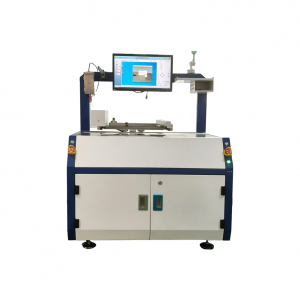
Desktop selection welding QSO-300B
-
Desktop Selective Wave Soldering Machine QH-SHSS341
-
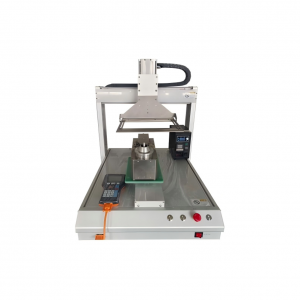
SMT semi-automatic pick and place machine with Dispenser
-
QiHe series wave soldering machine
-
High-speed off-line selective wave soldering QSO-300


WHAT IS SMT pick and place machine?
SMT (Surface Mounted Technology) is a comprehensive system engineering technology, which covers substrates, design, equipment, components, assembly processes, production accessories and management. When it comes to SMT pick and place machines, the automatic SMT production line requires automatic loading and unloading machine, automatic solder paste printing machine, placement machine, reflow soldering machine, AOI inspection equipment, connecting table, etc. For these SMT assembly line equipment, Qihe SMT can offer you machines in prototype SMT line, small SMT production line, mass production SMT line at low SMT line cost. Contact us now if you are interested.
WHAT IS SMT ASSEMBLY LINE?
With the development of technology, future electronic products will be lighter, smaller and thinner. Traditional assembly technology can no longer meet the requirements of high-precision and high-density assembly. A new type of PCB assembly technology-SMT (Surface Mount Technology) has emerged. SMT Assembly is the use of automated machines to assemble electronic components on the surface of the circuit board. Its density, high speed, standardization and other characteristics occupies an absolute advantage in the field of circuit assembly technology. In addition, SMT assembly has a wide range of uses.
WHAT IS SMT PROCESS?
There are mainly three steps in SMT assembly line process flow: solder paste printing, components placement and reflow soldering.
- Solder Paste Printing
Its function in SMT line process is to print the solder-free paste on the pads of the PCB to prepare for the soldering of the components. The equipment used is a screen printing machine, located at the forefront of the SMT production line.
- Components Placement
Its function is to accurately install the surface mount components on the fixed position of the PCB. The equipment used is a placement machine, located behind the screen printing machine in the SMT production line.
- Reflow Soldering
Its function in SMT manufacturing line is to melt the solder paste so that the surface mount components and the PCB board are firmly bonded together. The equipment used is a reflow oven, located behind the placement machine in the fully automatic SMT production line.